Microsoft Dynamics 365 Intelligent Order Management IOM Step by Step Tutorial
Step 1 - COMPLETEDCreate the free 30 Days Trial Version Environment for the Microsoft Dynamics 365 Intelligent Order Management
Step 2 - COMPLETEDSet up an IOM environment / Configure platform connection references in Microsoft Dynamics 365 Intelligent order Management
Step 3 - COMPLETEDCreate a new solution for PROVIDER Customization in Microsoft Dynamics 365 IOM / Create a provider solution
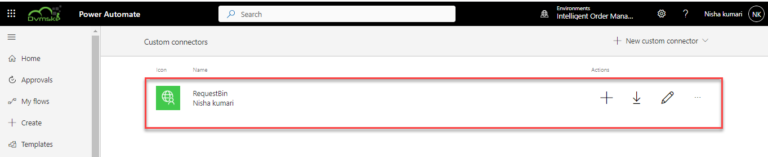
Step 4Create RequestBin Custom connector (Power Platform) for Step by Step Microsoft IOM Tutorial
Step 5Create new intake provider definition for Step by Step IOM Tutorial Scenario- Microsoft Dynamics 365 Intelligent Order Management / Register a new Provider in Library
Step 6Create a provider message request handler for Quick Start Lab Scenario for Microsoft Intelligent order Management IOM tutorial
Step 7Create Fulfillment provider in Microsoft Dynamics Intelligent Order Management IOM – Order to Fulfillment in IOM
Step 8Add a provider definition logic definition to the Outlook Provider Definition in Microsoft Dynamics Intelligent Management IOM
Step 9Create a provider action - Power Automate Flow - to send a fulfillment Order payload to RequestBin
Step 10Activate the Intake, Fulfillment, & Internal Application Service provider created in Previous Step by Step IOM Tutorial
Step 11Create Orchestration policies and their associated rules for Quick Start Lab Scenario in Microsoft Dynamics 365 Intelligent Order Management IOM
Step 12Create Sales Order Orchestration flow in Microsoft Dynamics Intelligent Order Management IOM
Step 13Set up Customer(Account) and product mapping in Microsoft Dynamics Intelligent order Management IOM
Step 14Run a sample order orchestration flow in Microsoft Dynamics 365 Intelligent Order Management - END TO END DEMO IOM
Create RequestBin account
To create a RequestBin account, follow these steps.
- Go to RequestBin.com https://pipedream.com/requestbin and click on Create Request Bin.
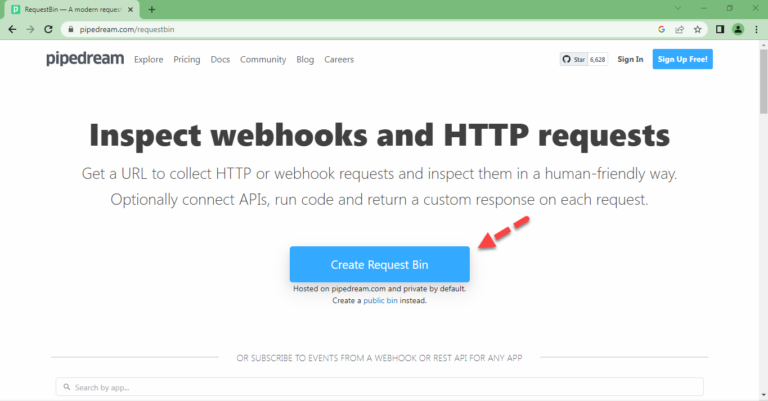
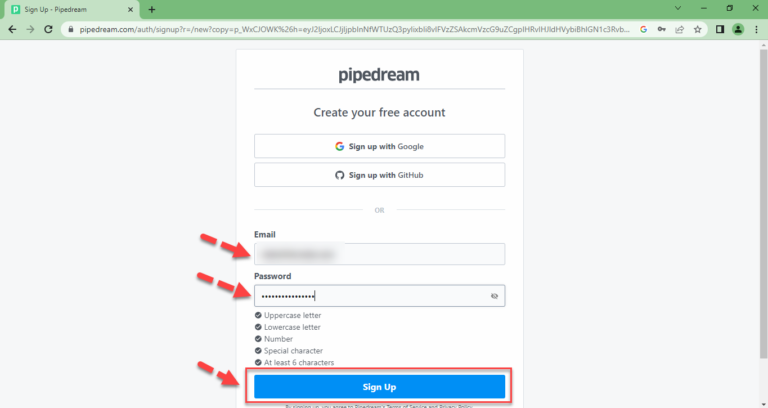
2. You can choose to create a public bin, but if you want to keep your request bin long-term, sign in with one of the suggested authentication methods.
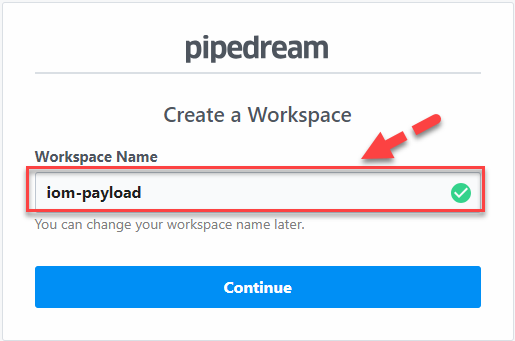
3. Enter the Workspace Name to to create a Workspace and click on Continue .
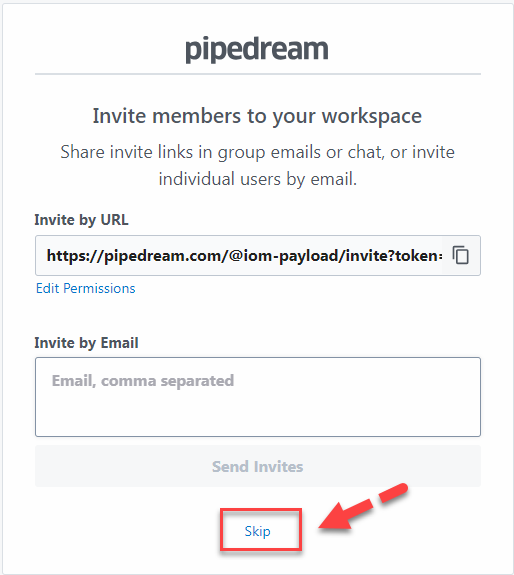
4. Click on Skip.
5. As you can see your workspace is created now you can copy the public endpoint URL in the format
https://xxxxxxxxxxxxxxx.m.pipedream.net.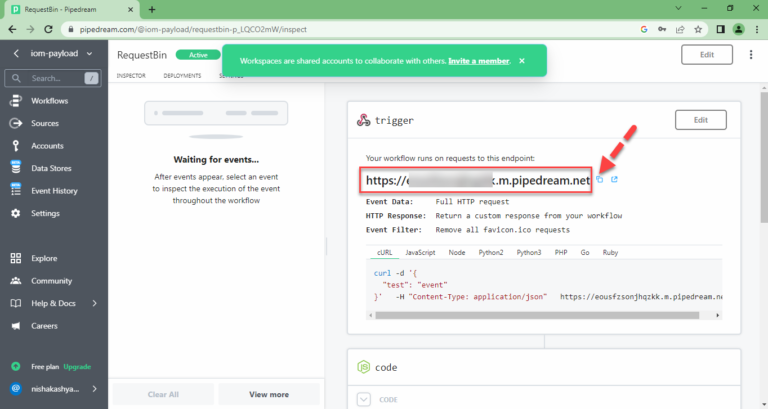
Create custom connector on Power Automate Portal
To create a custom connector, follow these steps.
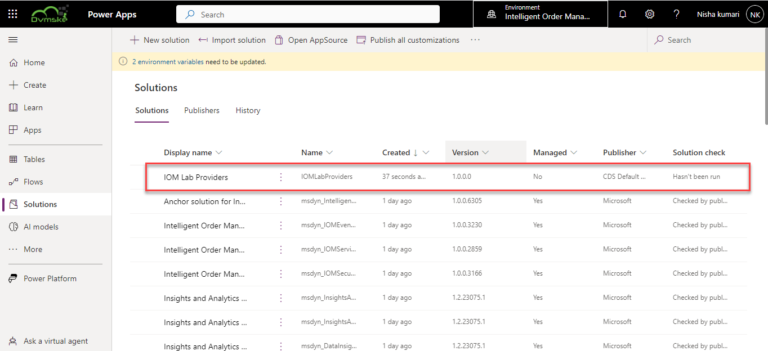
- Go to the Power App Maker portal and navigate to the newly created solution IOMLabProviders.
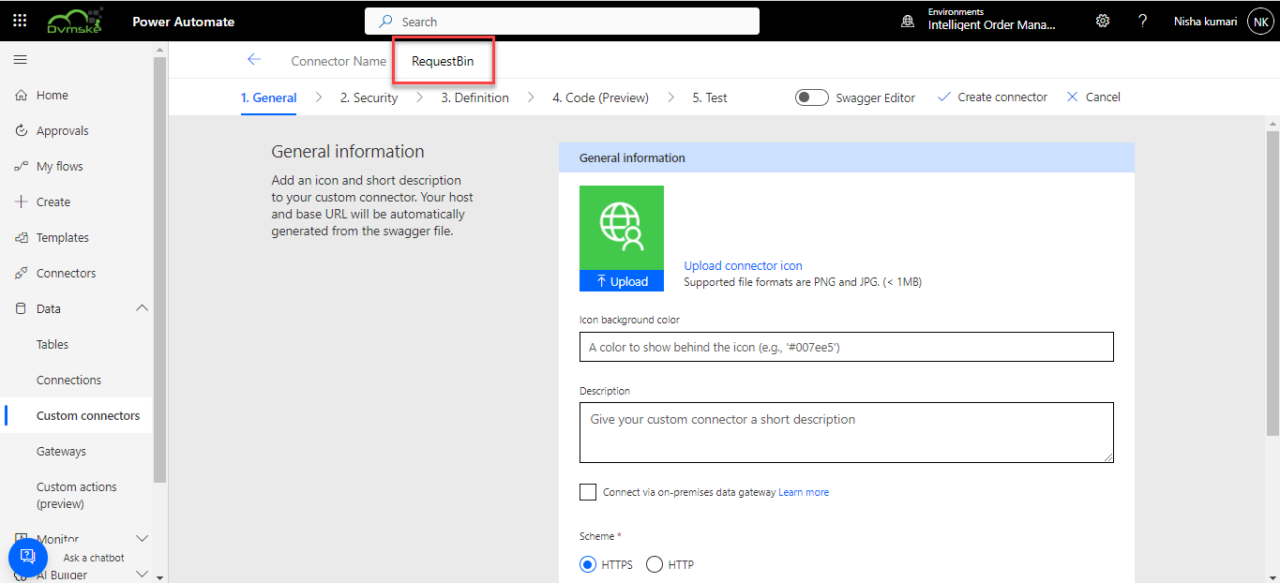
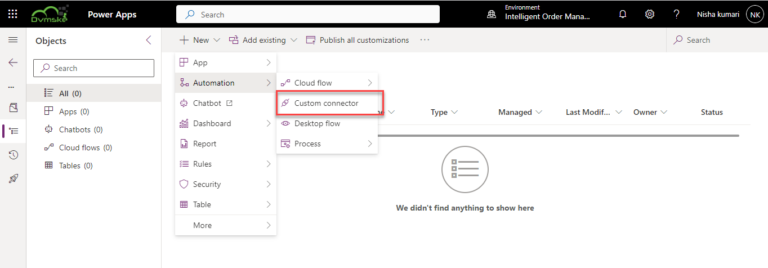
2. Select New > Automation > Custom connector .
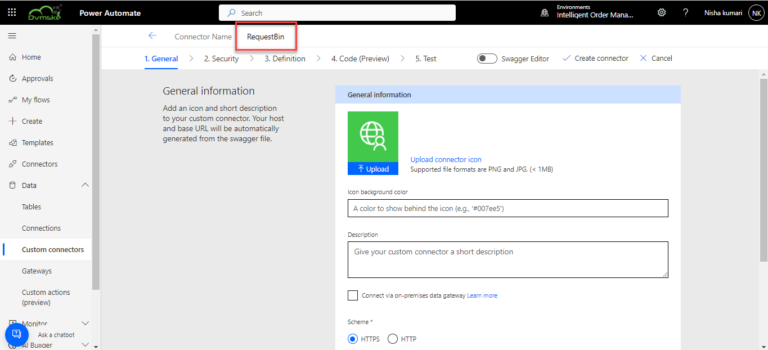
3. Enter the Connector Name as “RequestBin”.
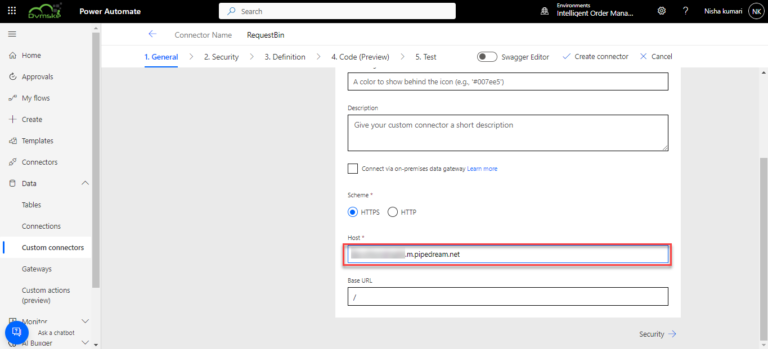
4. In the Host field, enter the public endpoint URL you obtained from RequestBin. and remove thehttps:// to the URL.
5. Select Security and Authentication type should be No authentication option .
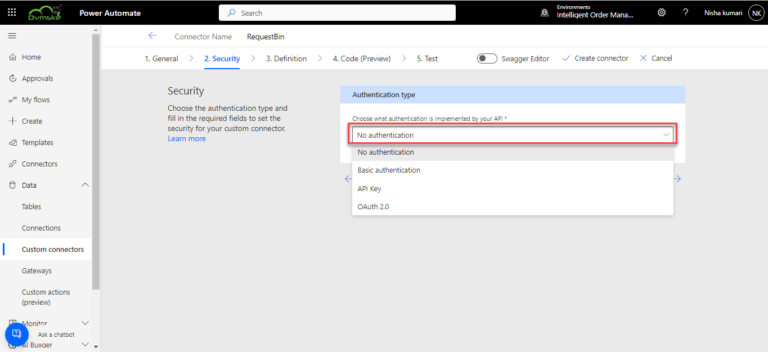
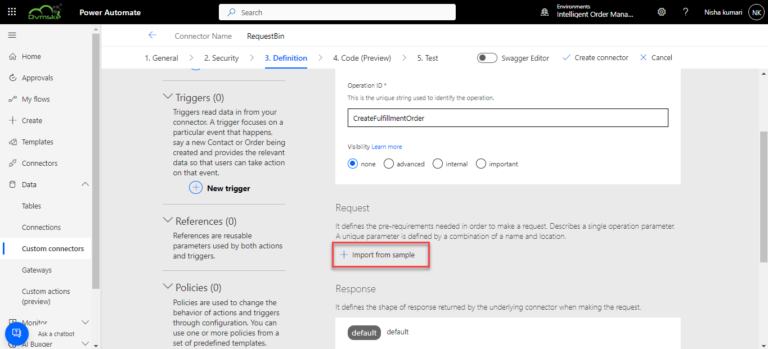
6. Select Definition and click on + New action.
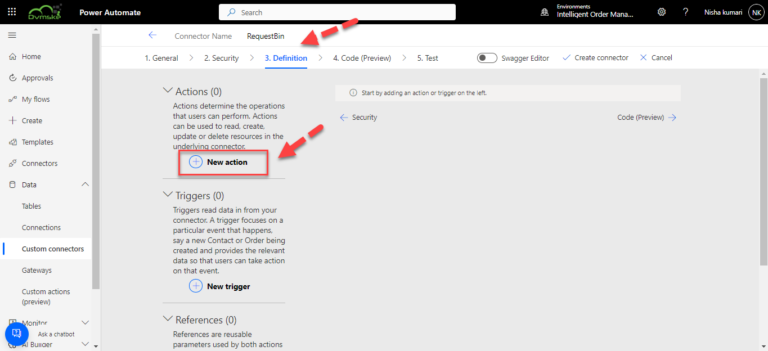
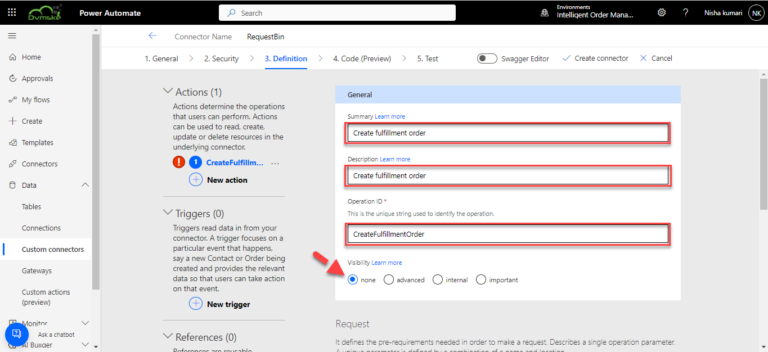
7. In the General dialog box, do the following:
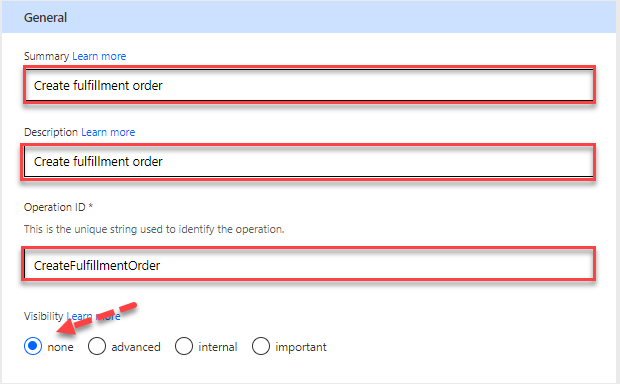
- For Summary, enter “Create fulfillment order”.
- For Description, enter “Create fulfillment order”.
- For Operation ID, enter “CreateFulfillmentOrder”.
- For Visibility, select none.
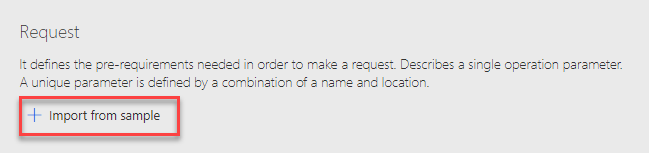
8. Under Request, select Import from sample.
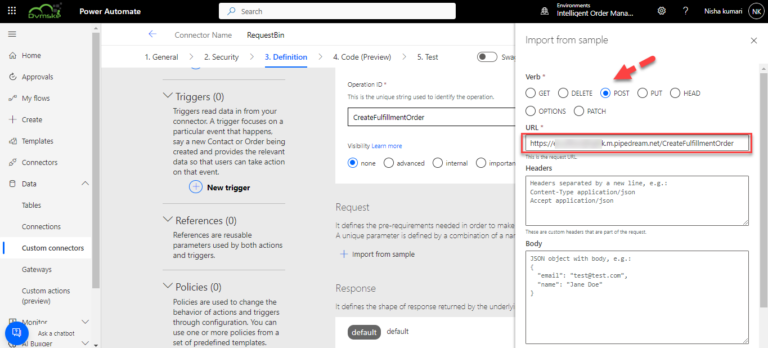
9. In the Import from sample dialog box, do the following:
- For Verb, select POST.
- For URL, enter
https://<URL_FROM_REQUESTBIN>/CreateFulfillmentOrder, where <URL_FROM_REQUESTBIN> is the public endpoint URL you obtained from RequestBin.
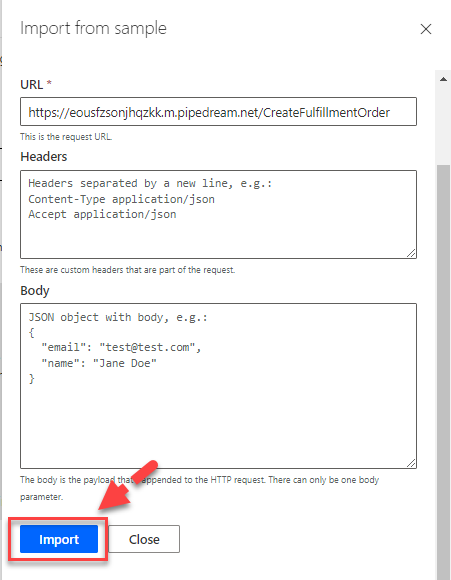
10. Click on Import.
11. Select + New action.
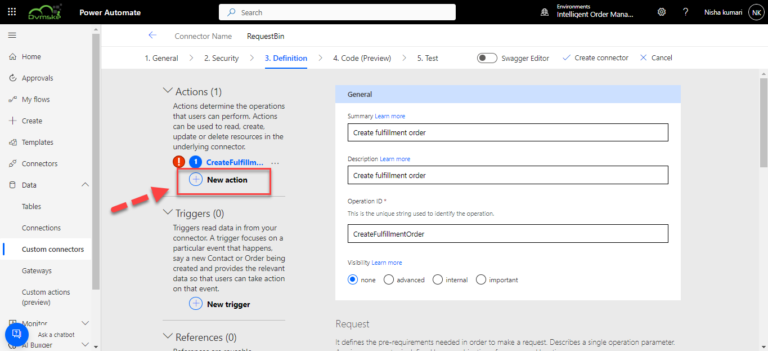
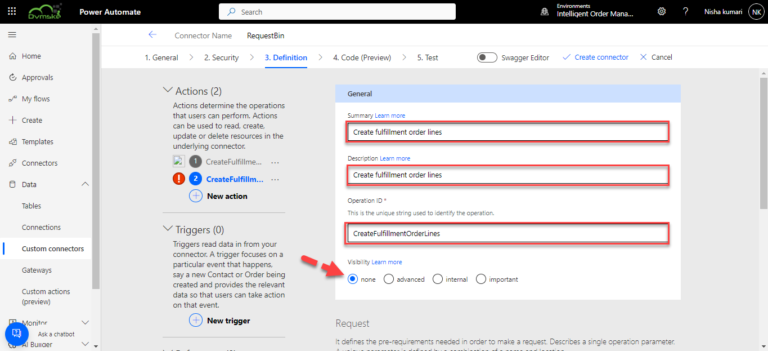
12. In the General dialog box, do the following:
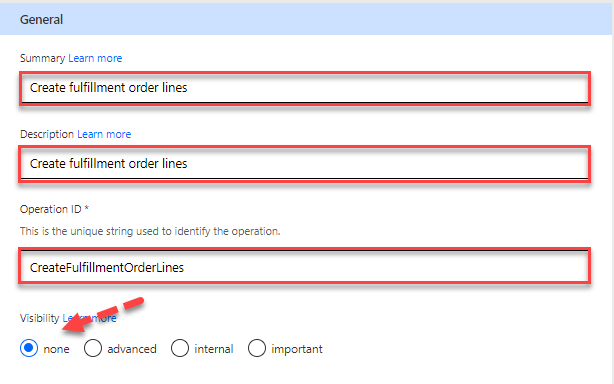
- For Summary, enter “Create fulfillment order lines”.
- For Description, enter “Create fulfillment order lines”.
- For Operation ID, enter “CreateFulfillmentOrderLines”.
- For Visibility, select none.
13. Under Request, select Import from sample.
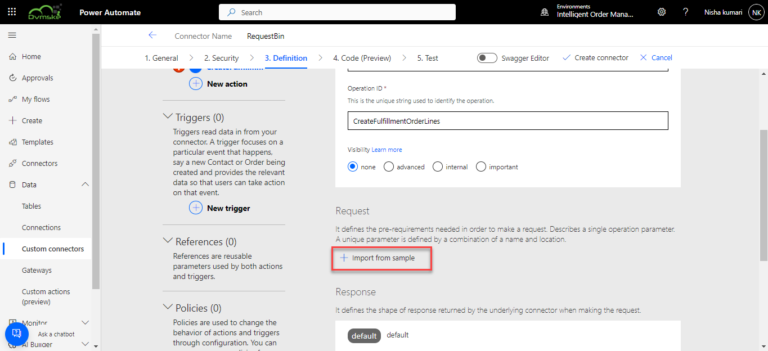
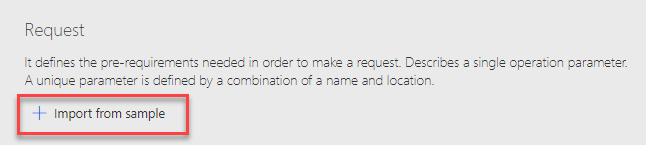
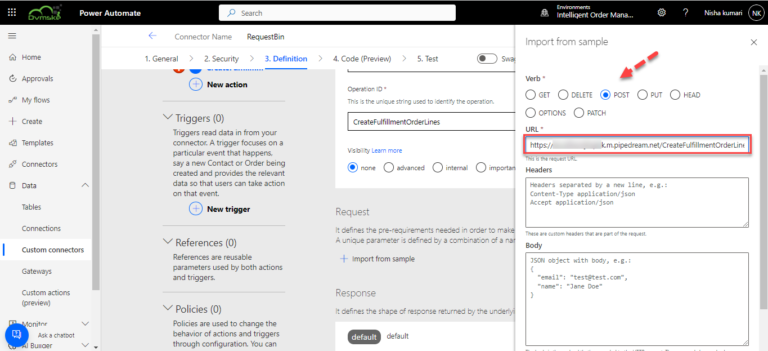
14. In the Import from sample dialog box, do the following:
- For Verb, select POST.
- For URL, enter
https://<URL_FROM_REQUESTBIN>/CreateFulfillmentOrderLines, where <URL_FROM_REQUESTBIN> is the public endpoint URL you obtained from RequestBin.
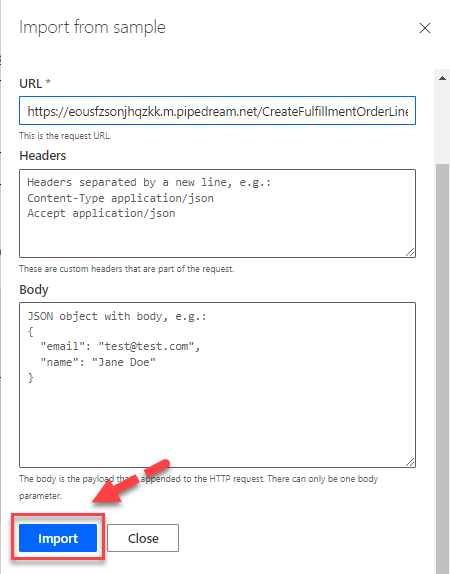
15. Click on Import.
16. Select Create connector.
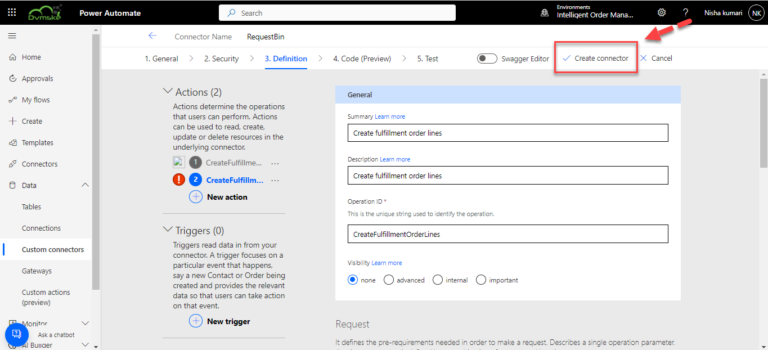
Custom Connector is ready to use in STEP 5 of Step by Step Microsoft Dynamics 365 IOM tutorial