Microsoft Dynamics 365 Intelligent Order Management IOM Step by Step Tutorial
Follow Below Steps
Step 1 - COMPLETEDCreate the free 30 Days Trial Version Environment for the Microsoft Dynamics 365 Intelligent Order Management
Step 2Set up an IOM environment / Configure platform connection references in Microsoft Dynamics 365 Intelligent order Management
Step 3Create a new solution for PROVIDER Customization in Microsoft Dynamics 365 IOM / Create a provider solution
Step 4Create RequestBin Custom connector (Power Platform) for Step by Step Microsoft IOM Tutorial
Step 5Create new intake provider definition for Step by Step IOM Tutorial Scenario- Microsoft Dynamics 365 Intelligent Order Management / Register a new Provider in Library
Step 6Create a provider message request handler for Quick Start Lab Scenario for Microsoft Intelligent order Management IOM tutorial
Step 7Create Fulfillment provider in Microsoft Dynamics Intelligent Order Management IOM – Order to Fulfillment in IOM
Step 8Add a provider definition logic definition to the Outlook Provider Definition in Microsoft Dynamics Intelligent Management IOM
Step 9Create a provider action - Power Automate Flow - to send a fulfillment Order payload to RequestBin
Step 10Activate the Intake, Fulfillment, & Internal Application Service provider created in Previous Step by Step IOM Tutorial
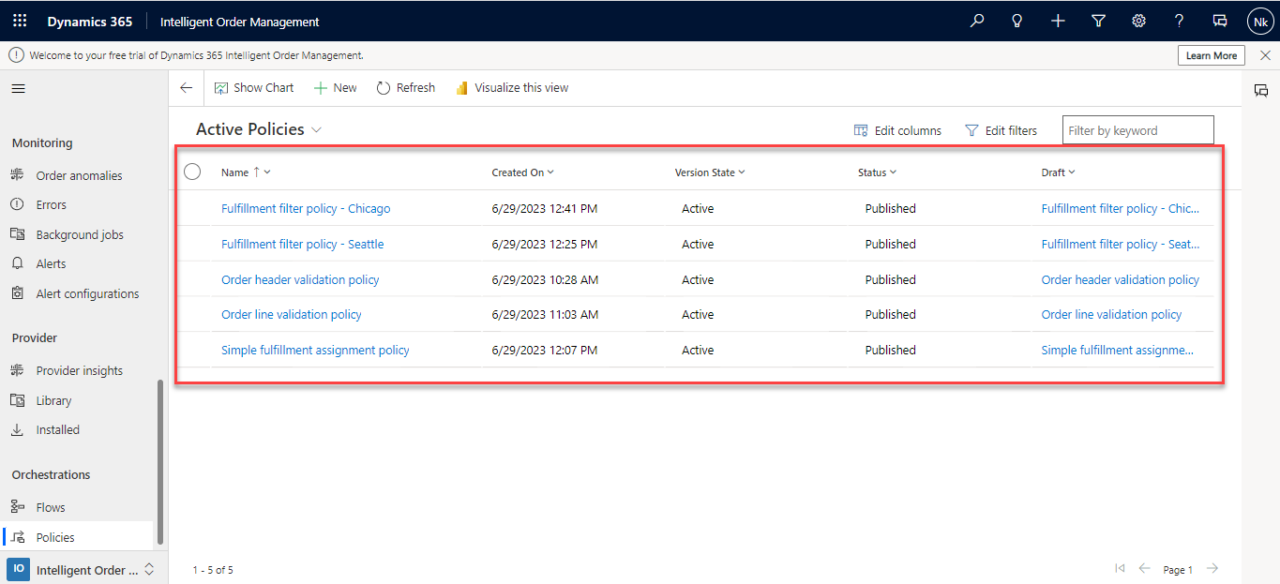
Step 11Create Orchestration policies and their associated rules for Quick Start Lab Scenario in Microsoft Dynamics 365 Intelligent Order Management IOM
Step 12Create Sales Order Orchestration flow in Microsoft Dynamics Intelligent Order Management IOM
Step 13Set up Customer(Account) and product mapping in Microsoft Dynamics Intelligent order Management IOM
Step 14Run a sample order orchestration flow in Microsoft Dynamics 365 Intelligent Order Management - END TO END DEMO IOM
Configure platform connection references
After you provide your environment, the Welcome and get started page appears. The trial environment is prepared, and you can explore the program with the demo data provided.
To configure platform connection references, follow these steps.
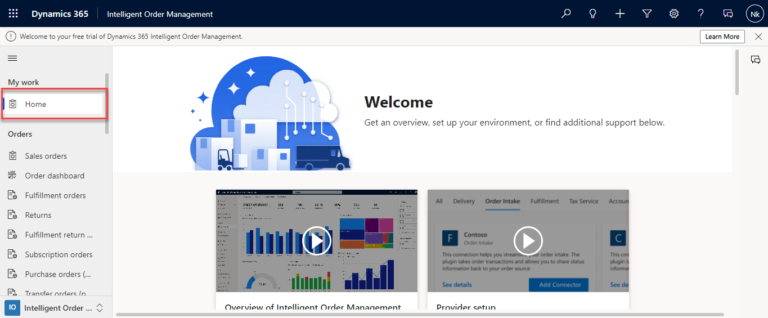
- On the Intelligent Order Management Welcome and get started screen,
- Click on Home.
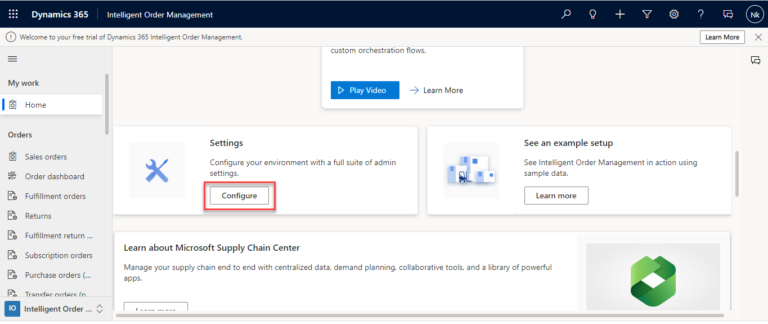
- Scroll down on Home Screen.
- Go to the Settings
- Click on Configure
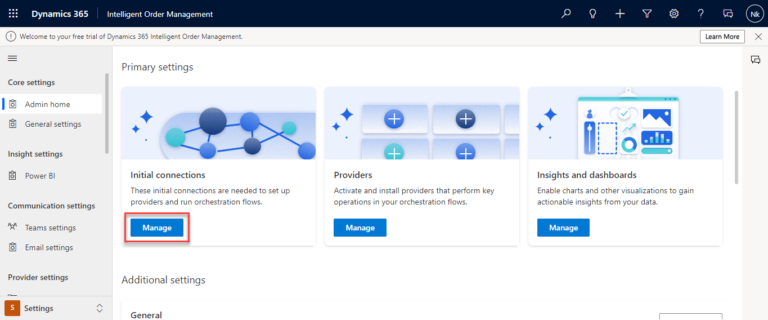
- On the Admin Home below Core Settings click on Manage of Initial Connections.
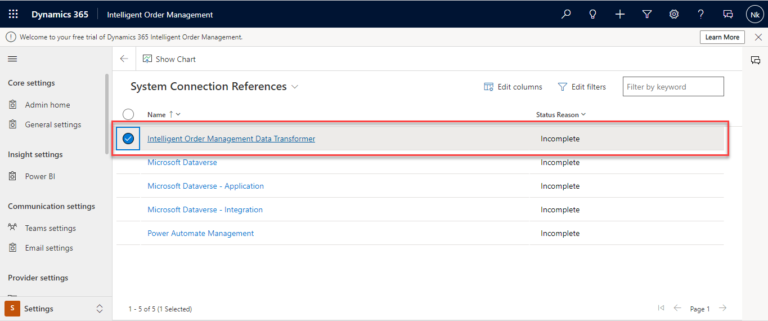
- Select the first System connection reference.-Intelligent Order Management Data Transformer and open it.
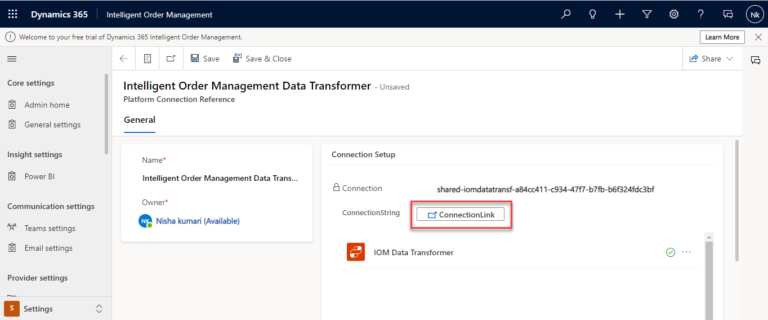
- On the Connection setup section .
- Click on the connection link .
- After clicking on the connection link .
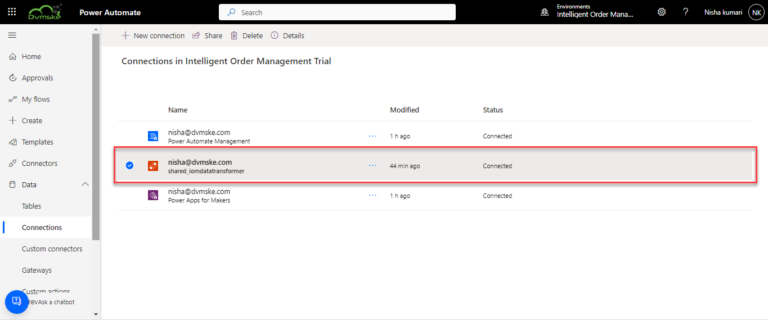
- We are directed to a Power Automate Portal.
- As you can see connection is established for the IOM Data Transformer.
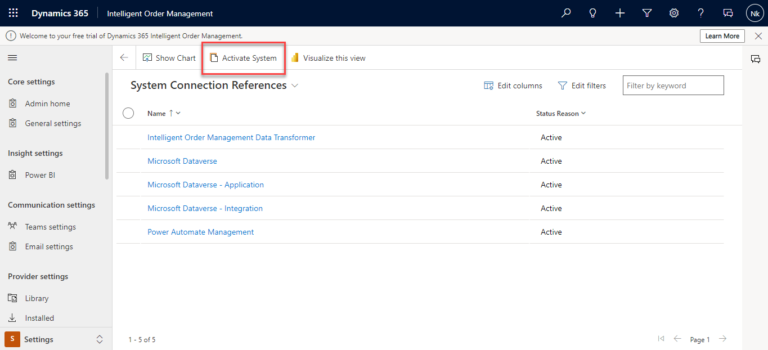
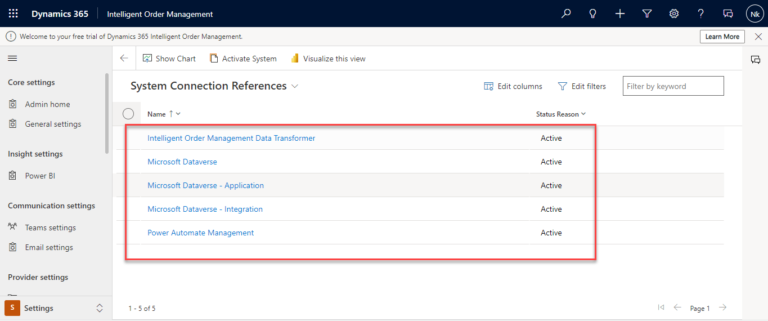
- Go to IOM again and repeat the same steps for other connections , as you can see all the connections are Activate , click on the Save and Close.
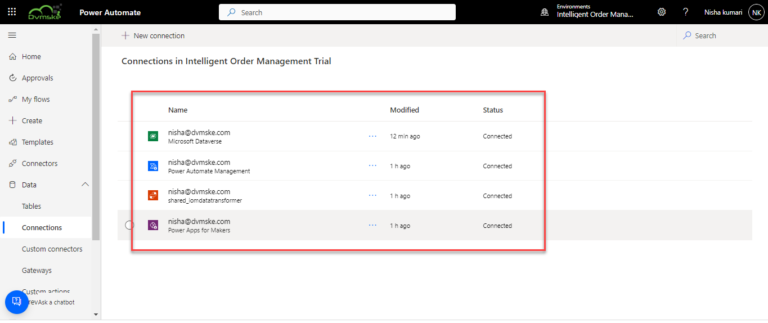
- As you can see all the connections are made on Power Automate Portal
- Click on Activate System.