What are customer Voice Surveys and why are they used.
Dynamics 365 Customer Voice provides organizations with a powerful survey tool to capture, analyze, and then act on customer and employee feedback.
We can add several questions of different types and in a user-friendly interaction using Smily, choices, multiple choices, text questions, star ratings and also can make questions required and non-required and also can show and hide fields using several conditions.
We can also add variables to show a dynamic value.
In this blog we will create a survey from scratch containing about all types of questions, ratings, display logic, header customization, response storing and Thank You Message.
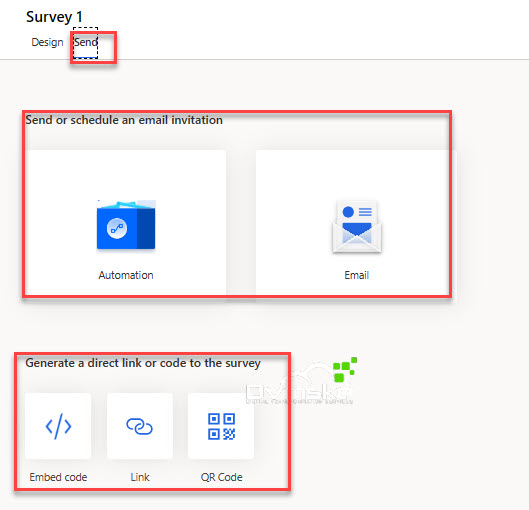
Different ways to send surveys
1.The first way is we can send a survey using power automate flow. In power automate we have connectors by using which we can create the invitation link of the survey we want to send.
2.Email- We can send it directly by creating an email template.
3.Embed- We can embed the script code in and html and then can show the survey in a website.
4.Link-We can create a link and send this link.
5.QR Code- From the link we can also create a QR code and send it.
Note- We will explain all these in detail in our other blogs.
Demo to create a customer voice survey
Scenario- We have a requirement to create a survey, which have a company logo on and a text message on survey header. Then in next line it will show the name of the customer. And a after response Thank You message.
Required Questions To Add-
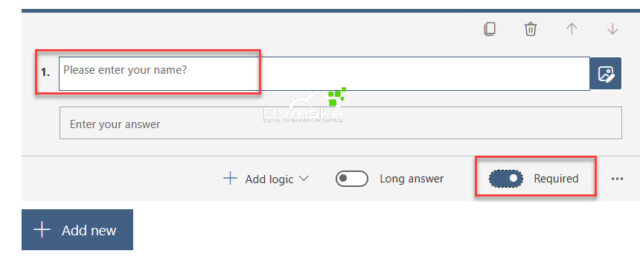
- Please enter your name. (required Question).
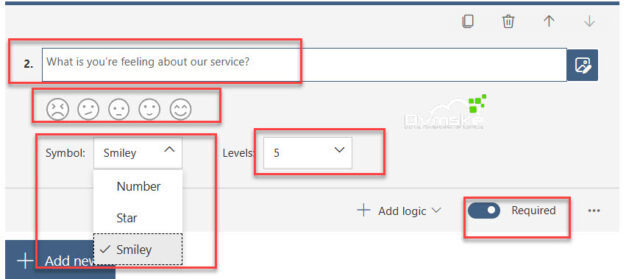
- What is you’re feeling about our service (Smily).
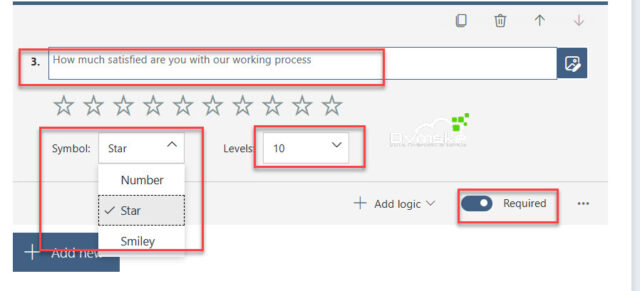
- How much satisfied are you with our working process (star rating).
- In future what products you like to purchase (multi select options).
a. LCD
b.AC
c. others
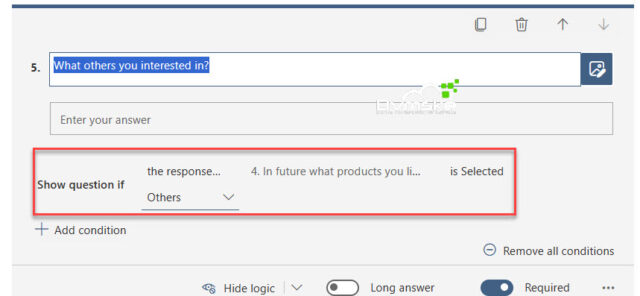
And if user select others a new question appears of text type asking what others you interested in.
Steps
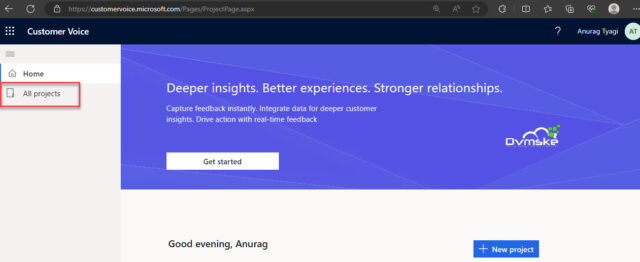
Step1. Open the link https://customervoice.microsoft.com/ in your browser and login with your crm credentials.
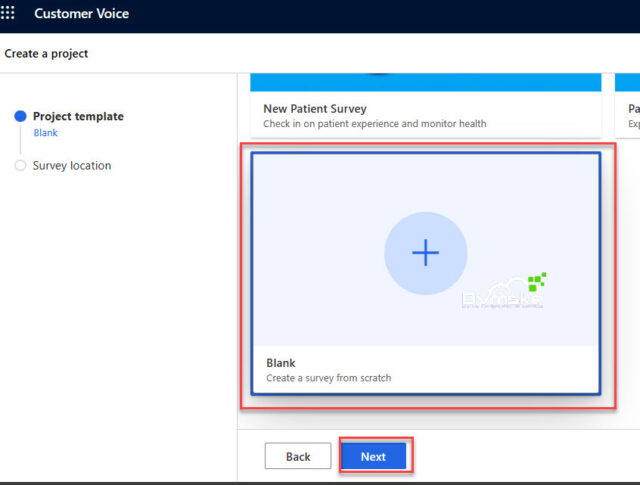
Step2.Click on new project. Select blank template and click on next.

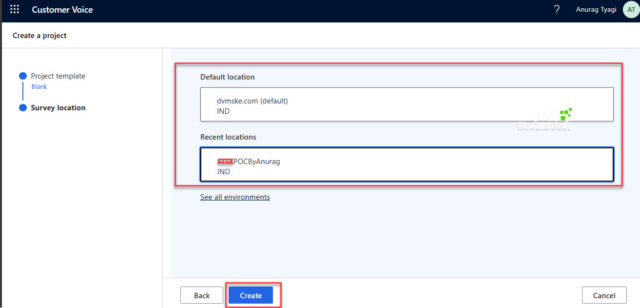
Step3. Select the environment you want to create your survey. Click on create.
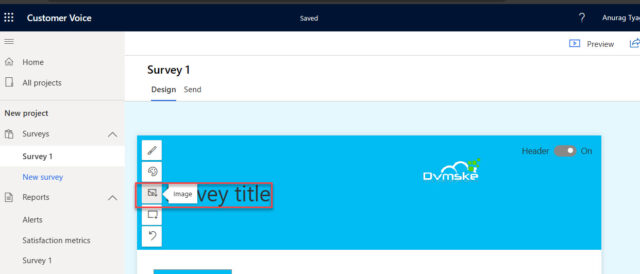
Step4. Click on image, we can upload a image or use and existing image for the survey header.
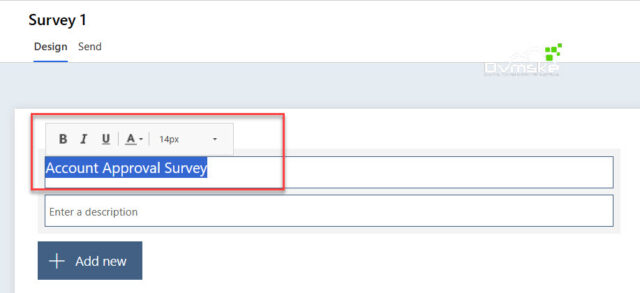
Step5. Click on survey title and you can update you survey title at the header. You can also make the text italic, change font size, and font colour.
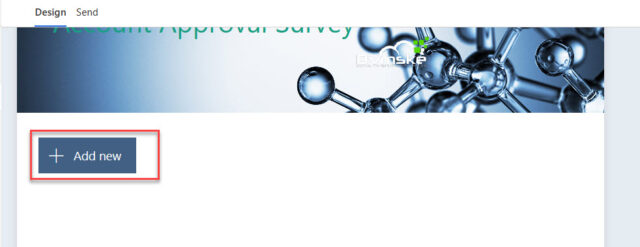
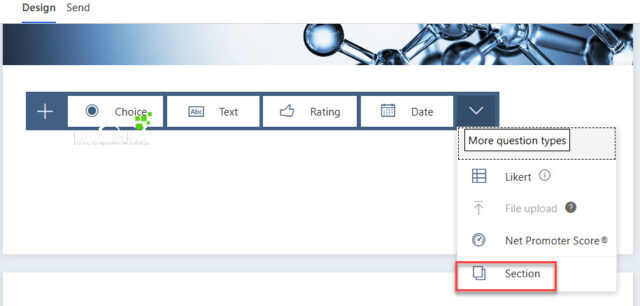
Step6. Click on add new. Then click on the dropdown and select section. And then we can add our custom message.

Step7. Click on add new and select text. Update your question text. Set it as required.
Step8. Click on add new. Select rating. In the symbol select smiley of level 5, so five ratings Smily will appear and also make it as required.
Step9. Click on add new and select rating. In the symbol select star and level as 10 for 10 star rating. And also make it as required.
Step10. Click on add new. And select choice. Add options as per your requirements and change the label of the options. Select this question as multiple answers and make it required.
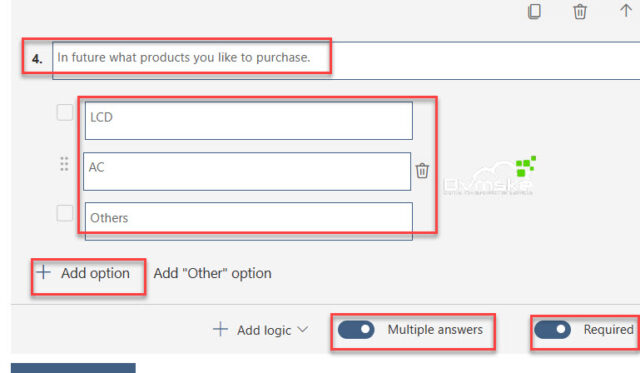
Step11. And for the requirement, And if user select others a new question appears of text type asking what others you interested in.
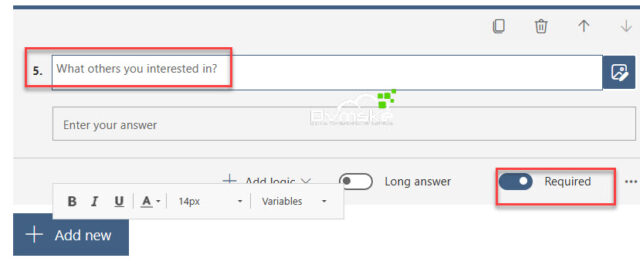
We will first create a text question “What others you interested in”. Then we will add a display logic that if others are selected in the previous choice question, the show this question, else hide this question.

Step12. Click on add new. Select text. Update the question text and also make it as required.
Step13. Click on add logic and select display logic. Apply logic as show question if in the fourth question others is selected.
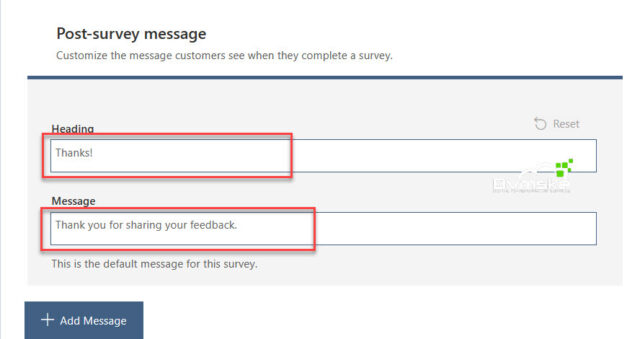
Step14. Click on the post survey thank you message. And you update the message as per your requirement.
Demo
Click on preview button at top right header.
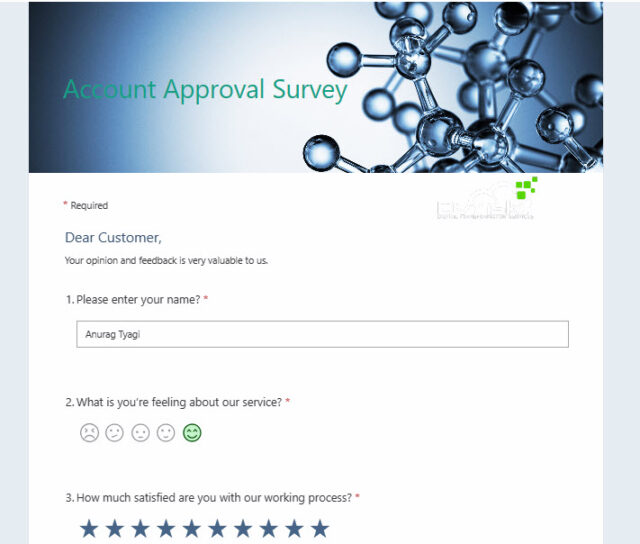
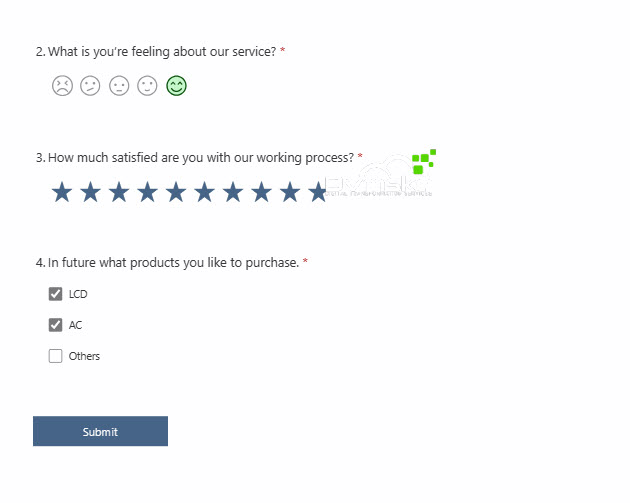
As other option is not selected the fifth question is not visible.
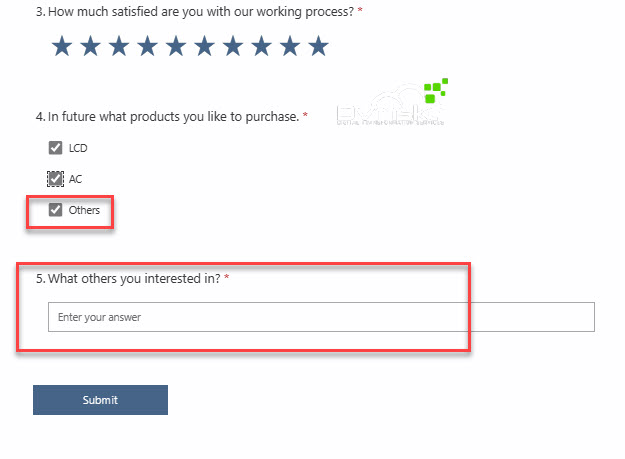
As other option is selected the fifth question is visible.
Fill the value in the fifth question and click on submit.
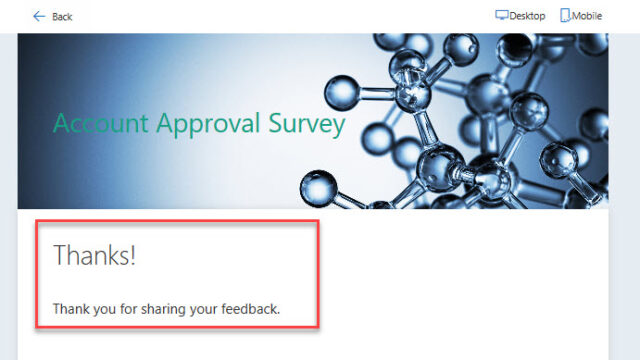
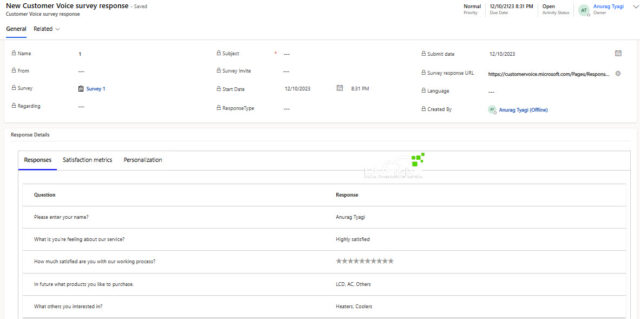
Open the customer voice survey response entity in your crm.
And your survey response is generated there.
In the next blog we will cover.
Send a survey using power automate with a custom template.
How to process a survey response in customer voice survey response and using context data.
Thank You
