Introduction
In Microsoft Dynamics 365, Solutions are basically containers used for importing customization components from one environment to another – i.e., from development to QA environment or from QA to production.
Types of Solutions-
- Default Solution
- Managed Solution
- Unmanaged Solution

1. Default Solution
This is a special solution that contains all components in the system. The default solution is useful for discovering all the components and configurations in your system. In addition to the default solution, you can create more solutions which can be exported in other environments in two types of packages – managed and un-managed.
- Managed Solution:
A managed solution is a completed solution that is intended to be distributed and installed. An unmanaged solution is one that is still under development or isn’t intended to be distributed. When the unmanaged solution is complete and you want to distribute it, export it and package it as a managed solution. Managed solutions can be installed on the top of the system solution or other managed solutions.
- UnManaged Solution:
Unmanaged solutions are groups of unmanaged customizations. Any unmanaged customized solution component can be associated with any number of unmanaged solutions.
When a solution is unmanaged, you can perform the following actions:
- Add components.
- Remove components.
- Delete components that allow for deletion.
- Export and import the unmanaged solution.
- Export the solution as a managed solution.
*When you import an unmanaged solution, you can edit its components in the new organization.
Create a solution in MSCRM using the Legacy Method
- Click on this setting button on top right corner and click on the advanced settings.

- Then click on dropdown in front of settings, and the click on solutions.

- After clicking on solutions, a new window will appear. There click on the first option i.e., new solution.

Example
Enter all the details for the new solution.
Click on save. Solution will be created.

| Column | Required Level | Description |
| Display Name | Required | Give the display name of your solution which you want to display in solution list. |
| Name | Required | will come automatically (unique name). |
| Publisher | Required | Give whether default publisher or you can create a publisher who is making customizations. |
| Version | Required | Give the version or just type 1.0.0.0 |
| Description | Optional | Give the description what you are doing in this solution or your business requirements. |
Now you can add subcomponents to your solution where you want to do the customizations as per your business requirements.

Adding components in the solution
Adding entity in the solution
- Go to entity
- Click on add existing to add and existing entity.
- Click on new to create a new entity.
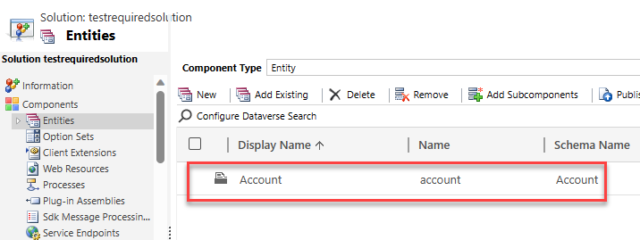
Click on add existing, select the entity you want to add. Click on ok.
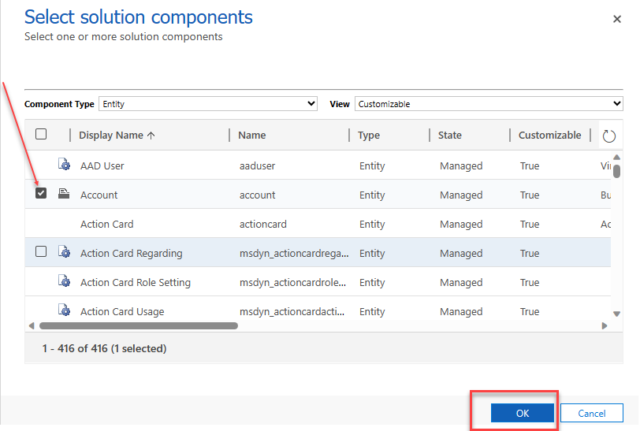
Select the subcomponets which you want to add. Click on finish.

Entity is added to your solution.
Create a solution in MSCRM using the Power Apps Portal
- Open the https://make.powerapps.com
- Go to Solutions and then click on new solution.

- In the new solution form enter Display name, Name, Publisher and Version and click on create.
*Note-You can either add the CDS Default Publisher or create a new publisher by clicking on new publisher

- Now your solution is created successfully.

- Create new subcomponents by click on new.
- Add existing subcomponents by click on Add existing.
- After completing customizations, Click on Publish all customizations.

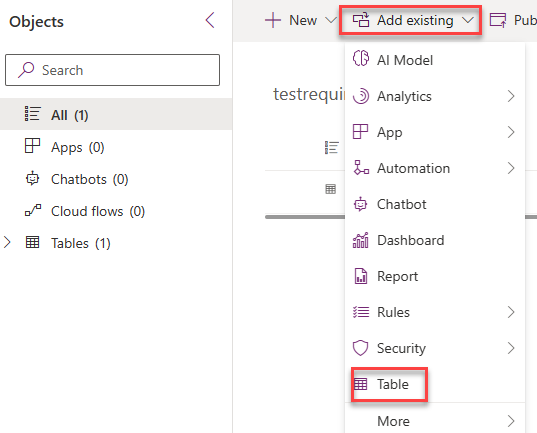
Adding components in the solution Using PowerApps
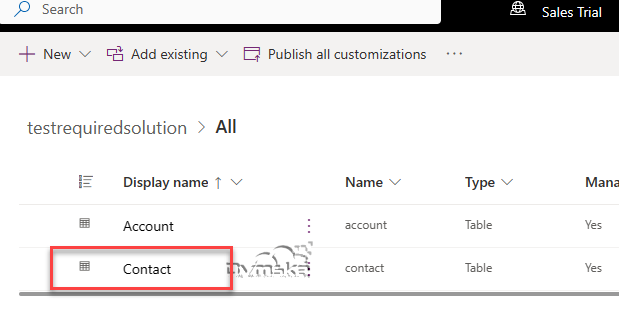
Click on add existing, click on component you want to add, I am adding a table.
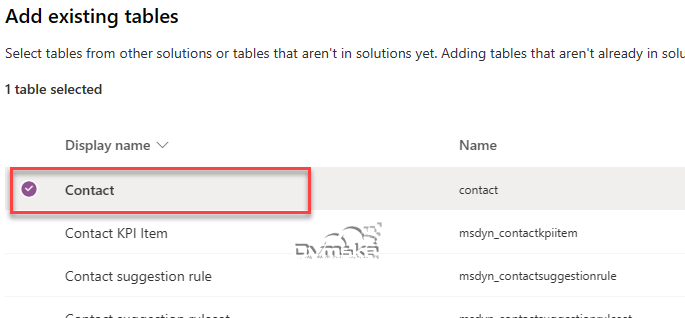
Select the contact entity. Click on next.
You can add subcomponents you want to add.
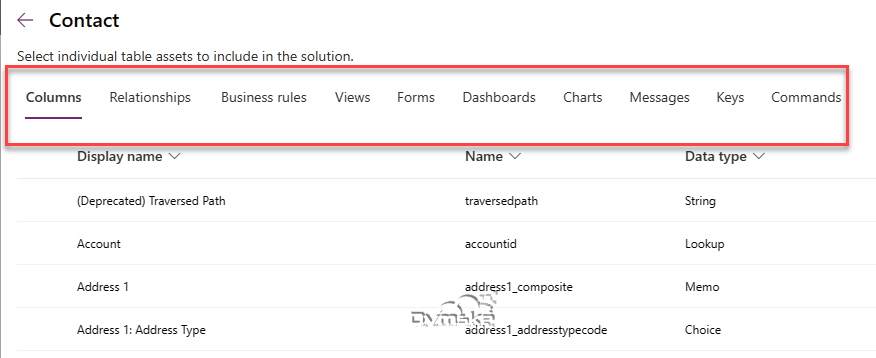
Entity is added to the solution.